DIY Tutorial: Designing a Henna Inspired Reception Program using Microsoft Word
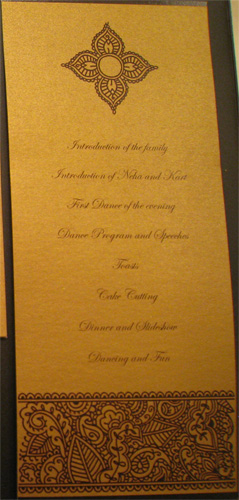
Continuing with our Inspiration from henna, we will design a Reception Program. For Mehendi inspired program, you will want to have a palette of rich colors. Rusts, Golds, Silvers, Magenta, Reds are all good to start with. Once you know which color you will use, based on the number of guests that are attending, buy enough paper. Paper-Source is one of my favorite stores to buy stationary from. They have great products for DIY projects. Following is the final product of this tutorial:
[ad#Google Adsense]
Follow along this tutorial to create your custom henna inspired reception programs. Remember to save your document at regular intervals:
- Open a standard 8.5″ X 11″ document in Microsoft Word.
- Select Page Setup from File Menu to change the orientation of the paper from portrait to landscape.
- Insert a Table in the document with 1 row and 3 columns.
- Now position the table in the top left corner and stretch the table all the way to the bottom right corner, such that the page is divided into three equal sections.
- If you want to remove the bounding lines of the table, then right click on the table. Select Borders and Shading. Now select the custom setting, and get rid of the side borders, and just keep the border that divides the page into three equal sections.
- Use the Insert Menu > Picture > From File to insert your motif/pattern in the document. Following are the images you need to make your henna inspired program.
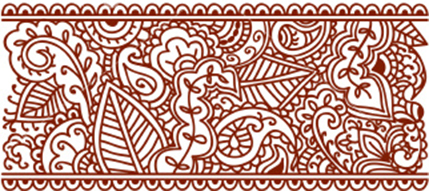

- Right click on the image and select Format Picture to change its size, alignment, layout etc.
- After formatting the images, you have your template ready. Following is what the final template looks like.
- You can now add text using your favorite font. One of my favorite fonts for Wedding Stationary is Edwardian Script ITC. An excellent website to download any font you can imagine is: DaFont.
- Your programs are now ready to be printed on your favorite colored paper. Always test print on one sheet of paper before sending a large number of copies to be printed.
- Cut your programs with a paper cutter. Alternatively, take them to Kinkos or Staples, and have them cut the stack for you. Since one sheet has two lines, the whole stack would just need two cuts and should be around $1.00 per cut.
Hope you had fun following along this DIY tutorial. Let us know what you think and if you have any questions.
 Agarwal Wedding Traditions
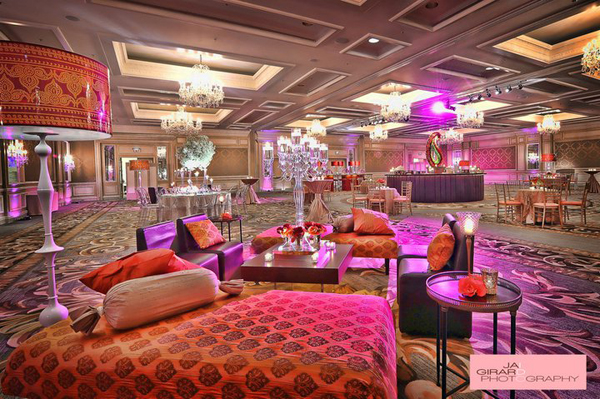 Mehndi Inspired Mehndi Decor
 Festival of Teej: Monsoon, Mehndi and Mithai
Nupur says
Hi Neha – as a suggestion, it would be nice if we did not have to type our name and email address each time we wanted to comment on the website. Maybe you can create a way for us to have accounts so that we can stay logged in
neha says
Hi Nupur – Thanks for your suggestion! The reason we collect name and email address is for security purpose and so that we are not spammed. And the reason we don’t ask users to create accounts to post is because that is an extra step for them. I will try to make this easier by having your browser remembering your settings when you try to post the comment. Thanks again!
neha says
Hi Nupur – I have changed my blog settings, where entering name, email and website are completely optional! Hope this helps 🙂
Nupur says
Thanks – this helps a lot! I am more likely to post now LOL
shaily says
Hi Neha!
Love the DIY program idea 🙂
Where did you find the images from? I wanted to see if I can get them in a higher resolution.
Thanks!
neha says
Hi Shaily – Thanks so much! For the program created in this tutorial, the images work fine as is. But if you would like higher resolution images, you can get them from istockphoto.com and just search for “henna” or “mehendi”
What kind of programs are you thinking of creating for your wedding?
shaily says
We were actually thinking of using the images for our wedding website, hah! I haven’t yet thought about programs, but I like the designs the they have in istockphoto. Will definitely keep them in mind when I need art!
neha says
Oh that is super awesome! For the wedding website, you can repeat the border image horizontally or vertically to get a border effect. I actually tried building a website using these images once, and the results were fantastic.
I am actually also a web designer and developer, so ff you have any questions about website development, then let me know 🙂 I would be more than happy to help!
Eva says
is that the antique gold paper from paper source ?
http://www.paper-source.com/cgi-bin/paper/color/8-1-2-x-11-Cover/2505.131/833.html
neha says
Yes it is :-). Let me know if you have any other questions about this diy project.
Eva says
Thanks!
Did you change the margins on the Word Doc?
neha says
Yes, I made all the margins zero before starting out.
Swati says
WOW! This is EXACTLY what I’ve been looking for. Thank you so much!
Tanya says
dat’s quite different from usual designs n so it luks good <3