How to make your own DIY Wedding Invitation
Are you a creative bride? Do you want to add your personal touch to your invitations? Do you want your invitations to be unique? Look no more! We have the perfect DIY invitation ideas, which will set your wedding invitation apart. I will show you some techniques and point you towards some resources, with which you can make your own invitations very easily. Most of the supplies and inspiration that I have used for the invitation created in this blog post are from Paper Source. You can order your supplies from their online store, or go to their many locations around the country.
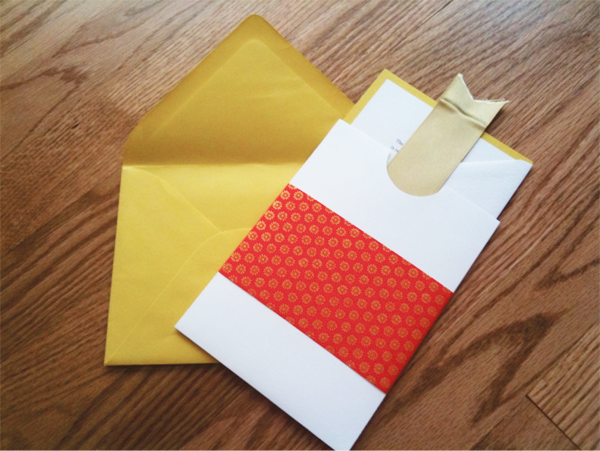
Our end product will look like the following:
Supplies:
- Half Moon Enclosure
- 5″ x 7″
- Special Feature = The half circle cut out allows a portion of your invitation to peek through the top – a great place to include a small graphic element.
- Flat Paper (white, ivory, cream)
- 8.5″ x 11″
- Flat Card in color of your choice
- A7 (5″ x 7″)
- Outer Envelope
- A7 (5 1/4″ x 7 1/4″)
- Decorative Paper (or Handmade Paper)
- satin ribbon in color of your choice
- Paper Cutter
- Pair of Scissors
- Double Stick Tape
- Pencil
- Ruler
Steps to create the invitation:
- Open a Word Document in Microsoft Word on your computer. Change the orientation of the document to landscape.
- Make a table with one row and two columns on the document, such that one cell is 4 3/4″ x 6 7/8″ in dimensions.
- Type out your invitation text in each of the cells using your favorite font. You can use Da Font to find some beautiful fonts that are not available out of box.
- Print out the document on Flat Paper (8.5″ x 11″).
- Using the paper cutter, cut out the paper along the edges of the document you had created.
- Mount the Flat Paper on the A7 Flat Card using double stick tape. This creates a contrast and a layering effect.
- Now take the decorative paper and cut out a strip of paper that is 3-4 inches wide and long enough, such that it wraps around the half moon enclosure completely.
- Using double stick tape, adhere the decorative strip around the half moon enclosure. This adds a beautiful accent to your envelope.
- Now take the wide satin ribbon which is 2.5 times the length of the half moon enclosure (approx. 12.5″). Make sure you cut the ribbon into a “V” shape, so that the edges don’t fray. It also makes it look more professional.
- Wrap the ribbon length wise along the invitation card, right in the middle, and insert it in the half moon envelope. The invitation can be pulled out using this ribbon and adds a nice touch to the invitation.
- Now put the invitation in the outer A7 envelope.
- Note: You can create your other enclosures for RSVP, directions in a similar fashion.
Your invitation is now ready to wow your guests! Let us know what you thought of this DIY tutorial.

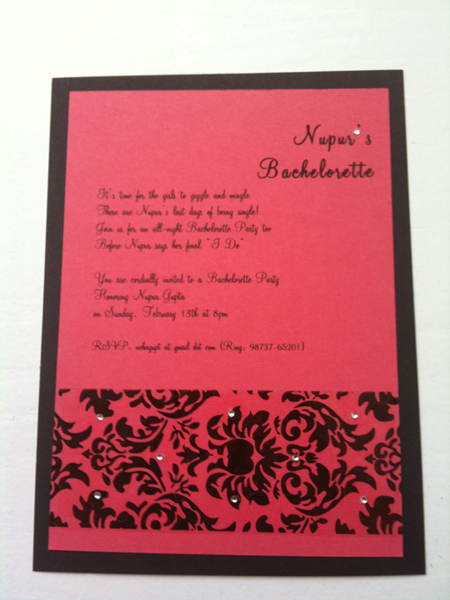
 DIY Bachelorette Party Invitations in 8 Easy Steps
 Question of the week: Planning an Indian wedding on a budget
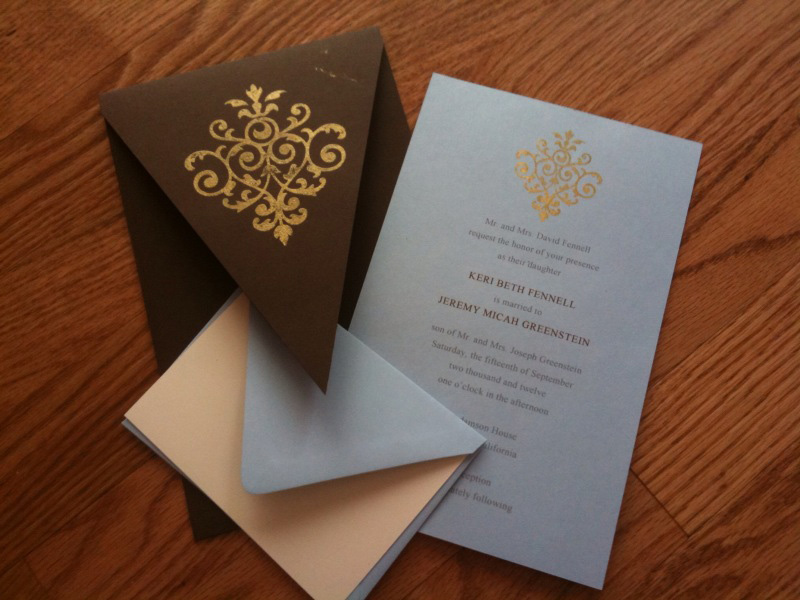
 Contemporary Invites for the DIY Bride
making invitaitons says
gorgeous invites.
make-your-own-invitations.com
s says
How does it look inside?
neha says
The invitation is inside, which can be printed on plain ivory cardstock using your favorite font. It has been mounted on colored cardstock. If you want, you can rubber stamp the ivory cardstock as well or use embossing. I will be explaining these techniques in my future blog posts. Stay tuned!
colinsmith says
This is very useful blogs about Wedding Invitation…